Showing posts with label Birthday. Show all posts

September 7, 2016

Boys can have Frozen Birthday Parties too! - G turns 9!

What is all of this about "FROZEN" is just for girls?!  Sooooo not true!  In fact, my little G is obsessed with Olaf and Elsa and Anna.  Frozen is his favorite movie! So of course we had to have a FROZEN themed Birthday party!  It works very well because his birthday is in January, so a winter themed party seemed like a no brainier!
 
This year, G asked for a pinata!  I've never done one of these before, but this was a GREAT idea!  No hitting the snowman, just pull a string and out pops the candy!!

Here are the invitations that I made for G's party!
 You can purchase one for your little Frozen fan at my Etsy shop!

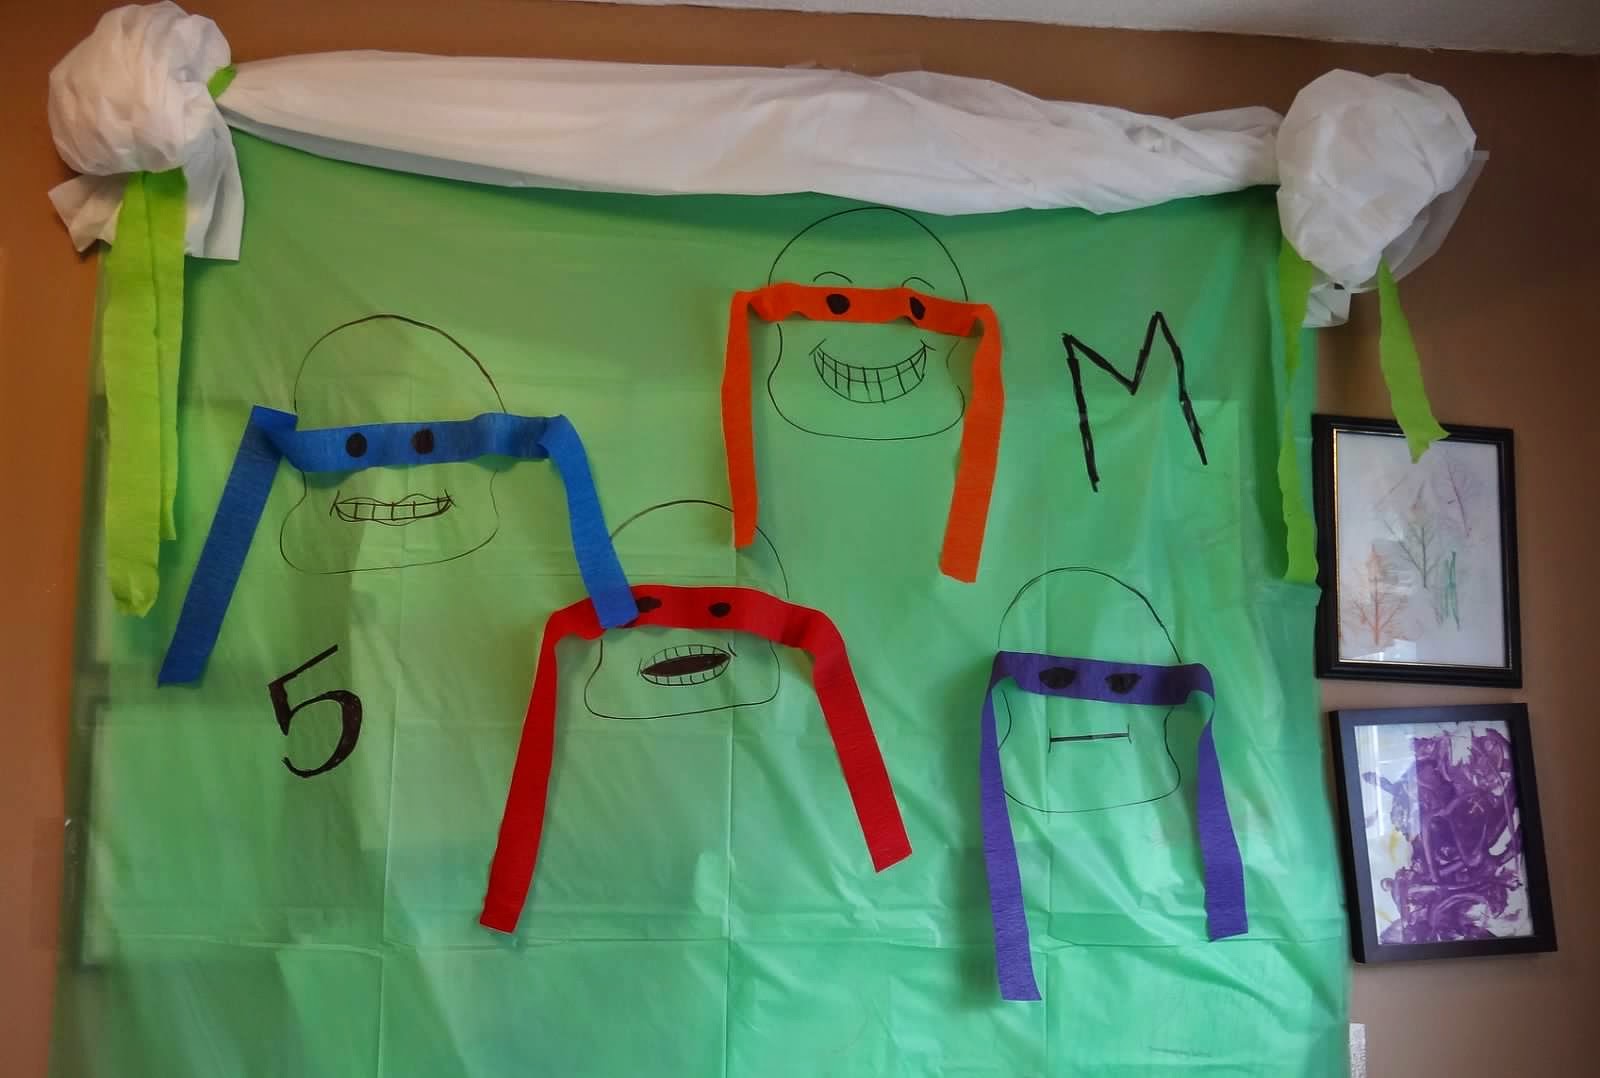
The backdrop for this party took a little more time than I prepared for, but it was really cool!
 
I took 3 different colors of plastic tablecloths and taped them on top of each other, then I cut strips in them all the way except for maybe a foot from the top.  Then I tied 3 strips at a time together near where I stopped cutting. You can kinda see the knot at the top under the "snow."  After all that was done, then I cut "snow drifts" from white tissue paper and taped them on top of the tablecloths to hide most of the knots. 
 
The banner is made out of foam both blue and white (white glued on top) and then I took a Sharpie and wrote on each piece.

I decided to take advantage of some store bought decor this year and I was very happy with the way it turned out.  I usually opt for the DIY stuff, but this actually was pretty cute!
 
The centerpieces, tablecloths and napkins were all purchased from the store.  G punched some snowflakes out of some white paper to use as confetti to decorate.  The cups are the cheapo white cups from the store as well and I just used a black and orange sharpie to draw Olaf's face on them.

I decorated the banquet room with Christmas ornaments! I just hung white snowflakes from the ceiling and then made these bad boys out of construction paper to hang as well.
 
Again, not hard to make, just time consuming. You can find a tutorial of how to make these snowflakes here. I used a full size of construction paper for each of these pieces so mine were pretty large!

Now let's move onto the food!!
 
The backdrop here was MUCH simpler!  I just used the Dollar Tree plastic tablecloth again and then taped some foam snowflakes that I again got from the Dollar Tree.  The poster was one that G got from a coloring book or something like that and really wanted to use it as part of the decoration. Who am I to argue with the Birthday Boy?!

I'm really excited and proud of the cake, so let's start with that!
 
 This is not a great picture, but my ceiling was apparently not high enough for me to take a picture with the whole thing in the full frame!  Here's a close-up of just half of his body though...
 
This was SO EASY!!! It's just a bunch of cupcakes placed together and then iced as one Olaf!!  I piped the arms on and the buttons and then added the face and voila!! Instant cake! There was no cutting involved or anything! Just hand out the cupcakes to each kid and there you go!  I'm going to see if the kids will allow something like this every year! I loved it and there was NO STRESS!!

Let's go around the rest of the food table...
 
These sandwiches are made from Hawaiian rolls, lunchmeat and cheese! I made a Turkey version and a Ham version.  No mayo or anything, just dry.  They could add mayo or ketchup if they wanted, but most of the kids ate them as is.
 
I think you can figure out what went into this. :)
 
Yep, just pretzel sticks.
 
This is just blue raspberry jello.  The kids ate it up!
 
Seriously...just...water.
 
Okay, so this I had to do a little bit of work...these marshmallows were dipped in chocolate and then covered in blue sprinkles.  I used cake pop sticks to do that with. I really meant it when I said a LITTLE bit of work!
 
One of my favorite items on the menu...Swedish Meatballs! And yes, they have to be Swedish!!  It is a FROZEN party after all. :) Yum yum!!

So for the favors, we again, utilized the store bought items.
 
Everything that went inside them came from a Favor Pack that was Olaf Themed.  Even the bags came with it!  Totally easy peasy lemon squeezy! 

And there you have it!!! I hope you found some great ideas and are ready to plan your next Frozen party for either a girl or a boy! Happy Celebrating!

Lego Birthday Party - M turns 6!

This post is a bit late...in fact, it's so late that M is about to turn 7.  I still can't believe that my baby is so old!  He wanted a Lego birthday party, so I wanted to share with you what I did!!

First thing's first. Here is the invite that I created for his party...
You can purchase this exact invite (personalized of course for your needs) on my Etsy Shop.


Here is his birthday banner backdrop.  I just took a few plastic tablecloths from the Dollar Tree and some colored paper plates and made this cute "Lego brick" backdrop.  I got the Happy Birthday Banner from Target already made. Bonus!! I made the name for Chi by printing out the letters on cardstock.  Super cute right?!

 Here are his favor bags.  I again went to Walmart and got cheap colored sacks and then printed out the lego logos from this blog here.
The favor tags were from this blog. Inside the favor bags were a few items.  Target actually has a really great lego favor section and I got most of it there:

 For the food table backdrop, again, I just used Dollar Tree Table Cloths and Paper plates.  Super simple.
 This was fun to make and FREE!! I just used his Lego bricks and built his name.  The cake however was a major disaster. I don't recommend replicating it. LOL.
 Fruit salad for no other reason than that's what he wanted and it's healthy. :)
 How adorable are these cheese Lego bricks?!
 You can't go wrong with Cheese and Crackers!
 This is a horrible photo, but it's just lemonade with a Lego face drawn in Dry Erase Marker.
 For the centerpieces, I just filled little buckets with Lego bricks and taped these free downloadable signs to some chopsticks.  I backed them with foam sheets from the Dollar Tree and glued them
together.
M wanted to help decorate, so I let him arrange his lego minifigs however he wanted. :)
 These guys were fun and the kids loved them!  Just plain yellow cups from the Dollar Tree and I used a Sharpie to draw the faces on them!
 WHAT?!?!
 Bad Cop
 Humph!
 This banner I did make.  I used foam sheets from the Dollar Tree and glued come circles that I cut from them as well. Then I printed out his name in a Lego font and voila!
 
 The birthday boy opening his presents

At least he loved the cake. :)

Thanks for stopping by!  I hope you got some good ideas for your next Lego party!

December 30, 2014

Totally Awesome TMNT Birthday

Happy Birthday Season!  It's that time of year again where my littles change their age once more.  I kinda wish it would stop happening, but because I don't have that kind of control I guess I might as well throw an amazing party for the memories. :)

I've been very sick this year (strange medical anomaly that the Drs nor I can figure out...according to medicine/tests I'm the picture of health) so because of this, this year's party is scaled down from my previous years.  I still wanted it to be fun and since I knew how to decorate my house it did make it easier.  Because of such illness, I relied more on commercial products rather than making my own everything.  To my happiness, it was still a great party and everyone had a wonderful time!  This was the most well attended shebang that we've ever had and I think we set a record for the amount of people in my house.  I LOVED it!!

Anyway, M decided he wanted a TMNT party (Teenage Mutant Ninja Turtles).  Both boys have seen the movies and love the characters.  Also, it doesn't hurt that my husband grew up loving them too, so it was a bit of nostalgia for him as well.

On with the pics!!
Let's start with the favors.  I made these masks out of felt and fleece (whatever was on sale) for each child to wear.  Surprisingly enough, the Purple ones ran out before anything else.  There is one for each color of turtle (the darker "blue" is actually purple). It was super easy too...nothing fancy, just cut the pieces in strips and then measured my little turtle for where his eyes were and then cut circles so he could see.

We also had little buckets that we found at the Dollar Spot at Target.  We stuffed them with TMNT Stickers, some crazy straws and a few pieces of leftover Halloween candy! :)
Of course, you can see next to it, my signature Birthday Subway Art.  I make one of these every year for the kids.  I really think it's adorable and adds a nice touch.  If you want your own, you can purchase one personalized to your little on my Etsy Site!
 The other thing that I really wanted to do for favors was create shells for all the little guests.  The only problem is that I could only find 1.  It is made of a chip tray from the Dollar Tree but after literally searching the entire city, this 1 you see here is the only green tray in existence.  Very frustrating, but at least M got to feel special.
For the table, again I had to keep it simple, so I just purchased a TMNT tablecloth and added some streamers down the center.

There were LOTS of guests, so we had to set up an additional table.  They just got the streamers on their table. :)
For the centerpieces, I found these green pails at the Dollar Tree, set them upside down and then tied streamers around them and colored in eyes.  It was cheap and simple and added just enough to not look completely bare.

Just because I wanted to, I also hung some green balloons from the ceiling with the different colored streamers.  Again, easy and decorative.  :)

 I also had this Happy Birthday Banner that I added to our mirror just for fun.
To welcome all the guests I made this again, simple sign and hung it on our door.
It totally matches the invitations that I made!! :)
 Again, you can totally get your own on my Etsy Site!

Also, did you know that you can reuse old Mylar balloons?  You can keep them after they have deflated and either take them back to your local party store to re-inflate with helium, or you can just use a balloon pump like I did and re-inflate with plain old air!
It doesn't float of course, but looks cute on top of my lamp. :)

Our birthday chair of course needs to be decorated too...here's the simple and effective way for that!!
Streamers and balloons...the theme of the event!  I found this birthday banner at Target of course and the personalized part?...plates.  Just plain old TMNT plates that I used a sharpie on. :)
Now let's get on to the food.  My favorite part! :) Here's the full spread...

The background is just a plastic tablecloth with again, some streamers and a sharpie.
Up top, it's another plastic tablecloth tied with...you guessed it...streamers. :)

The food was very simple to put together and I'm lucky that these are all of M's favorite foods anyway. :)
 We'll start with the healthy stuff (surprisingly enough, this is M's preferred fare...he LOVES broccoli)...I know...I'm blessed. :)
 Mikey's Veggies: Broccoli, carrots and the eyes are marshmallows with olive slices on top.  The smile is also made of black olives.
Raphael's Fruit: Green grapes and strawberries.  Again, the eyes are marshmallows and sliced olives. Smile is also olives. :)  Adorable, I know.
Sewer Lids: Oreo Cookies...easy
Turtle Food: Pizza.  We had 2 kinds, Pepperoni (because that's the turtle's favorite) and Hawaiian (because that's my turtle's favorite)
Sugar Cookie Pizzas: As an activity, we had all the kids make their own "pizzas" with Sugar Cookies, Red frosting as "sauce", Coconut as "cheese" and M&Ms and Skittles as their "peperoni."  It was a BIG hit!!
 Some of the beautiful and delicious creations.
To drink we had a couple of things.
 Toxic Slime: This is just your basic Lime Sherbet and Sprite punch.
Turtle Juice: I know it looks a little morbid, but M wanted Fruit Punch as well, so I had to think of something.
 And of course...Cowabunga Cake: This is your basic triple layer Dark Chocolate Cake with Green Buttercream Icing.  One good thing about having a birthday near Christmas is that the Green frosting is available and on sale. :)
 I just wrapped a streamer around the cake, attached some marshmallows for the eyes and used some gel icing to pipe the pupils and Chi's Name.
 I get a little giddy around cake time. LOL
 This is the coolest candle by the way!  It lights up and changes colors.  Really cool for a kid's birthday cake (found at Walmart).
I think he liked it. :)
Here's one more picture of all the food for you. Even though it was a small spread (almost all of it was eaten...yippie), we had a great time and the kids loved it.  The pizza helps I think.

Well, that's it for my Birthday Tour.  Thanks for stopping by and I hope you have a great time throwing your very own TMNT birthday party for your special Turtle! :)