March 24, 2013

Easter Mantle

Today is Palm Sunday! Hosanna, Hosanna in the Highest! We had another snow storm overnight, so this morning I had some time to switch my mantle to celebrate Easter!  Here it is!


The little egg things are candles. I've had them for years.
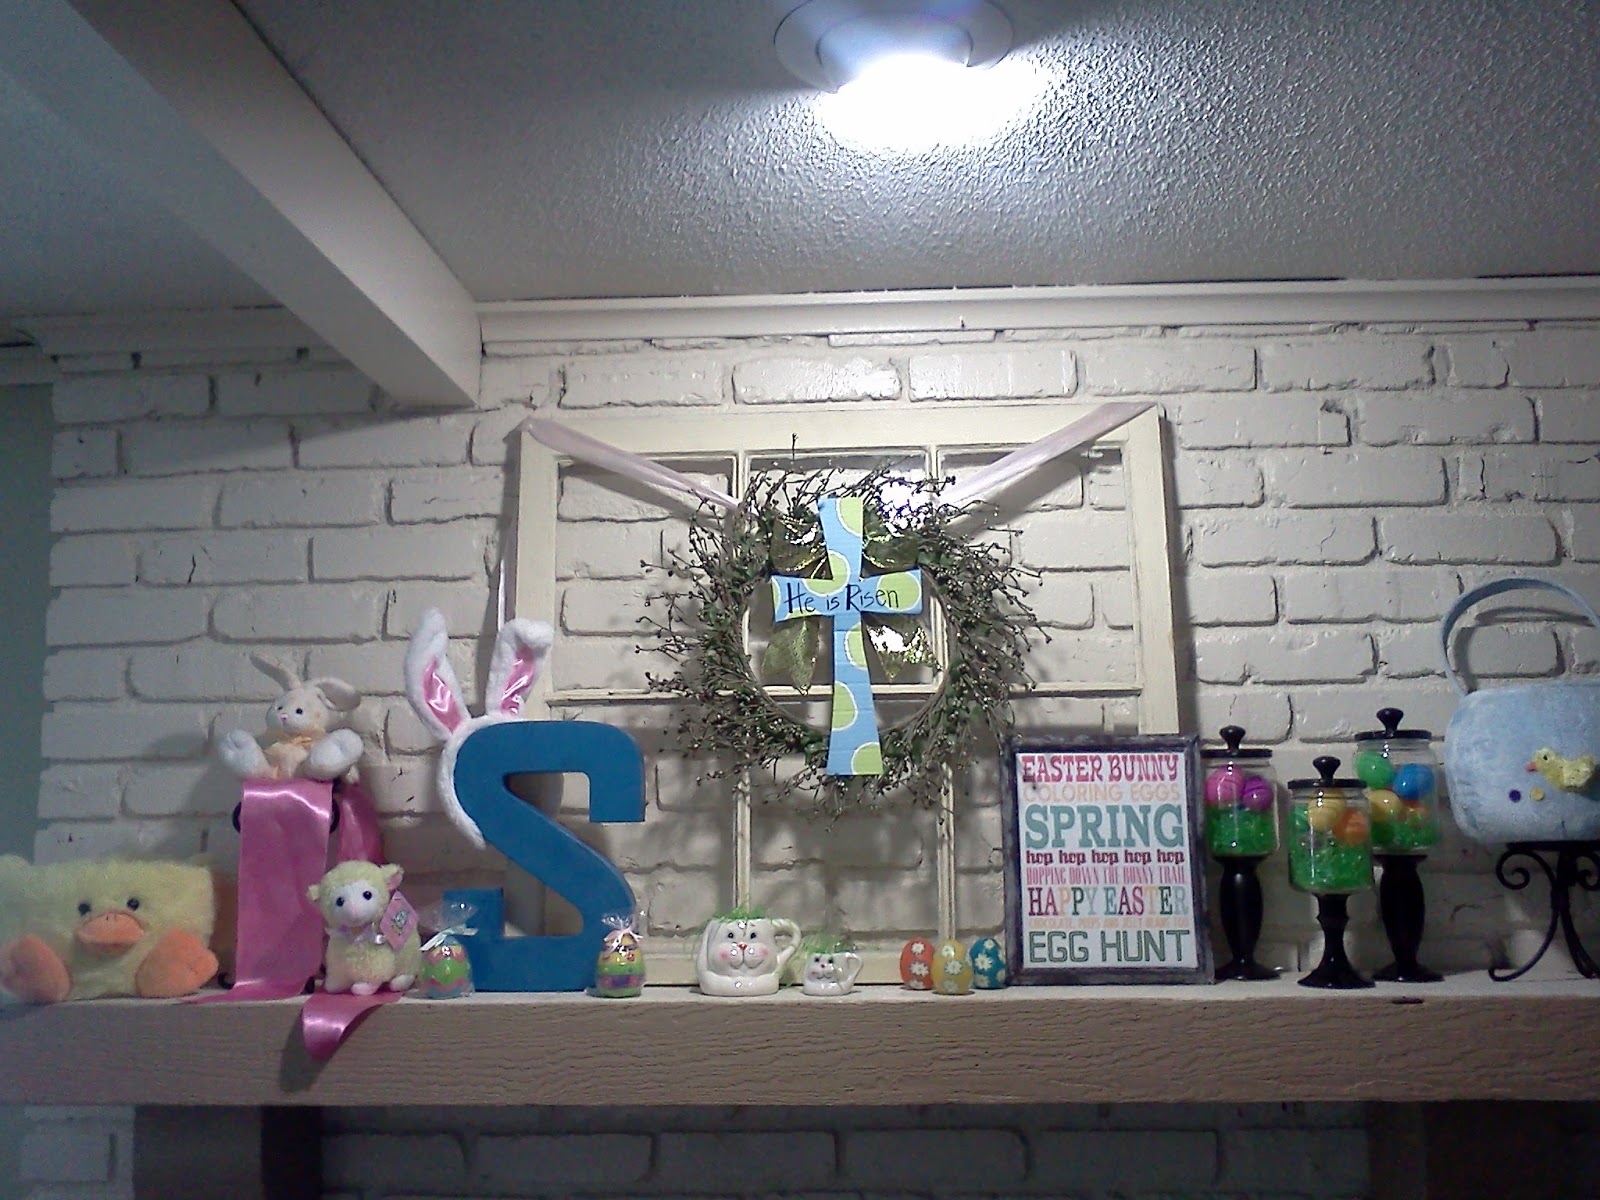
This is a really great wreath that my husband found for FREE on Craigslist! I love it!  I added the cross by painting a piece of cardboard and writing on it with Sharpie. 
These are my boys' Easter baskets.  I put them on the mantle not only because they are cute, but because that way I don't have to remember where they are when the Easter Bunny comes.  
Everything is cuter with little stuffed animals. :) 
I printed this from eighteen25's blog here!  She's got lots of great FREE pintables for the entire year!
Remember these from this post?! They are so versatile!!
I don't know where these came from, but I found them in a box in our basement and thought they were perfect for this project. 
 
So what do you think?!
 
Last year I saw this pin for Easter Egg Garland on Pinterest and just HAD to do it myself.  I wanted to make a few more eggs, but ran out of time.  Instead I put them together and used them as a centerpiece.  I added a little bunny...as if pastel eggs didn't scream Easter enough for you...and some Easter grass to my pastel yellow basket.  It makes my table look so very festive. :)


March 20, 2013

Wipe Off Writing Worksheet

So G is working on writing at school and the teacher keeps sending home already completed worksheets.  I really wanted to work on this at home with him, so I decided to make some reusable worksheets of our own!

Thus the Dry Erase Dot to Dot sheet was born!
 
Supplies:
Clear Contact Paper
Printer/Copy Paper
Sharpie
 
How To:
Take your plain, printer/copy paper and sharpie and dot your letters.  I made 2 sheets, one with upper case and one with lower case.
I drew some lines on it first so that I knew it would be straight.

I also added some numbers for them to trace as well.  In the blank lines I finished the worksheet with G's and M's names and some other sight words.
Then take your contact paper and cut a length twice the size of your paper so you can cover both sides.  Take off the paper on half of the contact paper and lay your completed sheet face down.
Then take the paper off the other half and gently smooth it onto the back of your sheet.  Make sure there are no bubbles.  Sometimes it helps to take off the paper AS you are smoothing it onto the back.  That technique worked the best for me anyway. :) Trim around the edges and you are done!

You can write on it with any dry erase marker and it wipes clean very easily! The boys love writing on their sheets and now we can work on it at home!!
 

Breakfast Gift Basket

Hello!  We recently attended a wedding and needed a gift last minute.  Well, I decided to get creative.  We didn't know the couple very well as the bride is a coworker of P, but we still wanted to get something nice for them.  They also didn't give us any registry information so it's not like we could have just gone to Target or Macy's and pick something out.  Thus, the following was created.

A Breakfast Gift Basket! Most of these items came from the Dollar Tree or Wall mart and the total gift cost around $12 when finished!

Inside, we put some pancake mix, syrup, Folgers Breakfast Blend ground coffee, Earl Grey Tea and some Coffee Creamer (no refrigeration needed).  We also put in some cute Coffee Mugs!

To make it all fit in the basket, and not fall I added some wadded up paper to the bottom of the basket.  The things I needed to be taller I just added more paper under them.  Just keep adding till it al fits and looks nice!  To cover the paper underneath, just add a little bit of shredded tinsel or paper.

Poke that tinsel around in all the spaces to make it look professional.


These are Dollar Tree Mugs that I wrote on with a sharpie and then baked in the oven for 30 minutes at 350 degrees.  Pinterest says it works, so here's hoping! :)

I also shrink wrapped it, added some cute tulle tied around it and a fun gift tag.

The basket came from the Dollar Tree too!

Well, there you have it! I hope they liked it and can get some use out of it.

Wedding Anniversary Mantle

Happy March!

I know it's almost over and this post is overdue, but I just had to share with you my Wedding Anniversary Mantle!  I had so much fun pulling out all of my Wedding stuff and displaying it.  Unfortunately, March this year also means St Patrick's Day and Easter, so I won't get to put up those mantles, but it is worth it!


This is a picture of our wedding party.  You can also see some of our bubble wedding favors here.

This is one of my favorite pictures from our wedding! Us praying after taking Communion for the first time as Husband and Wife.  Our Ring Pillow was made out of my mother's wedding dress.  It's very vintage and I used the lace to create the details.  You can also see P's boutonniere.

These are our actual wedding chalices.  You can't see very well, but they are engraved with "Mr. Smith" and "Mrs. Smith" and our wedding date.  P looked like Mr. Monopoly with his top hat and cane.  So dashing!

This was displayed by P's Groom's Cake.
 
 
This was our wedding cake topper.  You can also see some of our "guest book." in this picture.  We framed one of our engagement photos and had everyone sign the mats instead of a book.  This way we can always see who came. :)

Our Unity Candle.  I made the design with a little hot glue and beads.  It's fallen apart throughout the years.
 
Our wedding album and anniversary album.  It has the first 10 years of celebrations in it along with a photo so that we can see how we've changed.
 
His top hat, my veil and crown.  This is also a silk replica of my bouquet that I used as a display the day of our wedding.

This is an anniversary present that P got me this year!!  We celebrated 9 years and the traditional gifts are pottery and willow.  I think he did a great job!


I made this banner this year because the mantle just wasn't complete. It's our anniversary.  9 years!!  I got the template for the banner here.  She has all the letters, numbers and some fun shapes to print for FREE!  It was really easy to print out and then I glued it to some blue and yellow card stock to match our wedding colors.  It is displayed with clothespins attaching to some white tulle.  Very weddingy. :)
 
I hope you enjoyed my Wedding Mantle! I love it and it's very personal. After this month it will all go back in the box and we'll pull it out again next year!