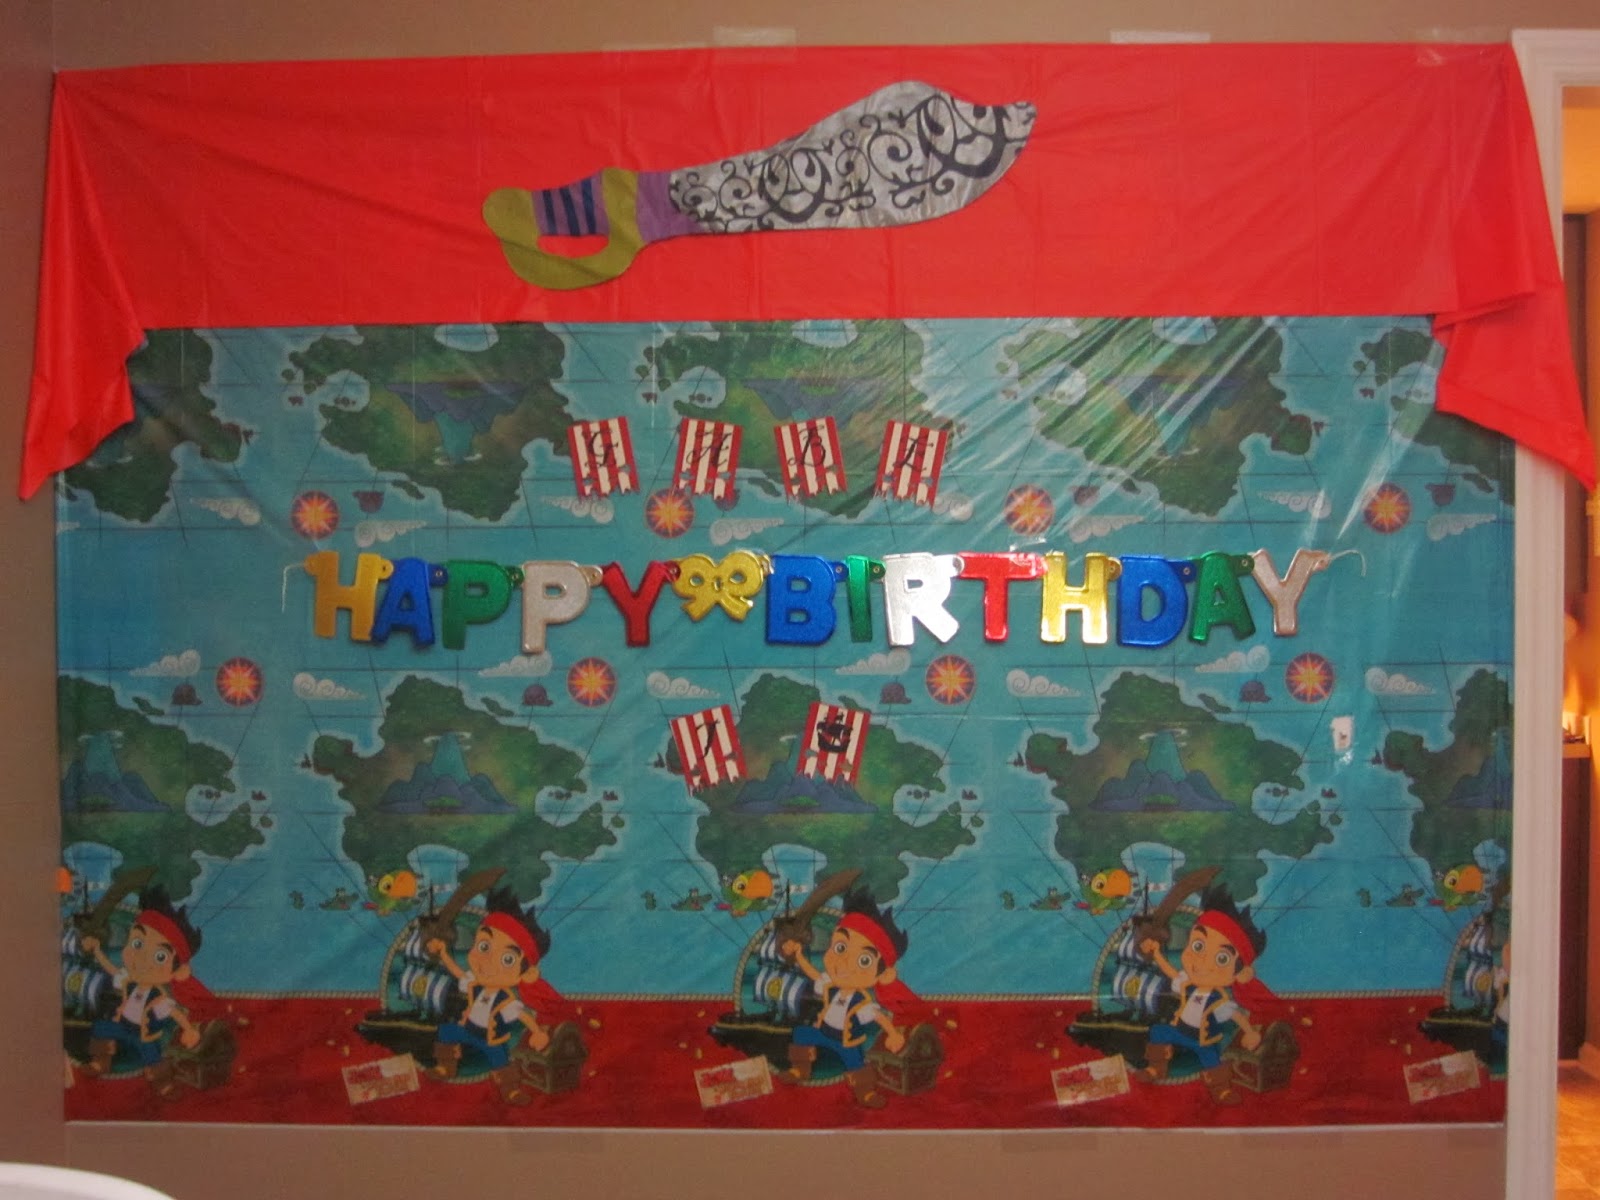
Arrrgh Mateys!!!! Captain Gabe is 7 Years of Age and we celebrated in Swashbuckling Style for this Pirate Birthday Party!! Check out the Bounty Below!!
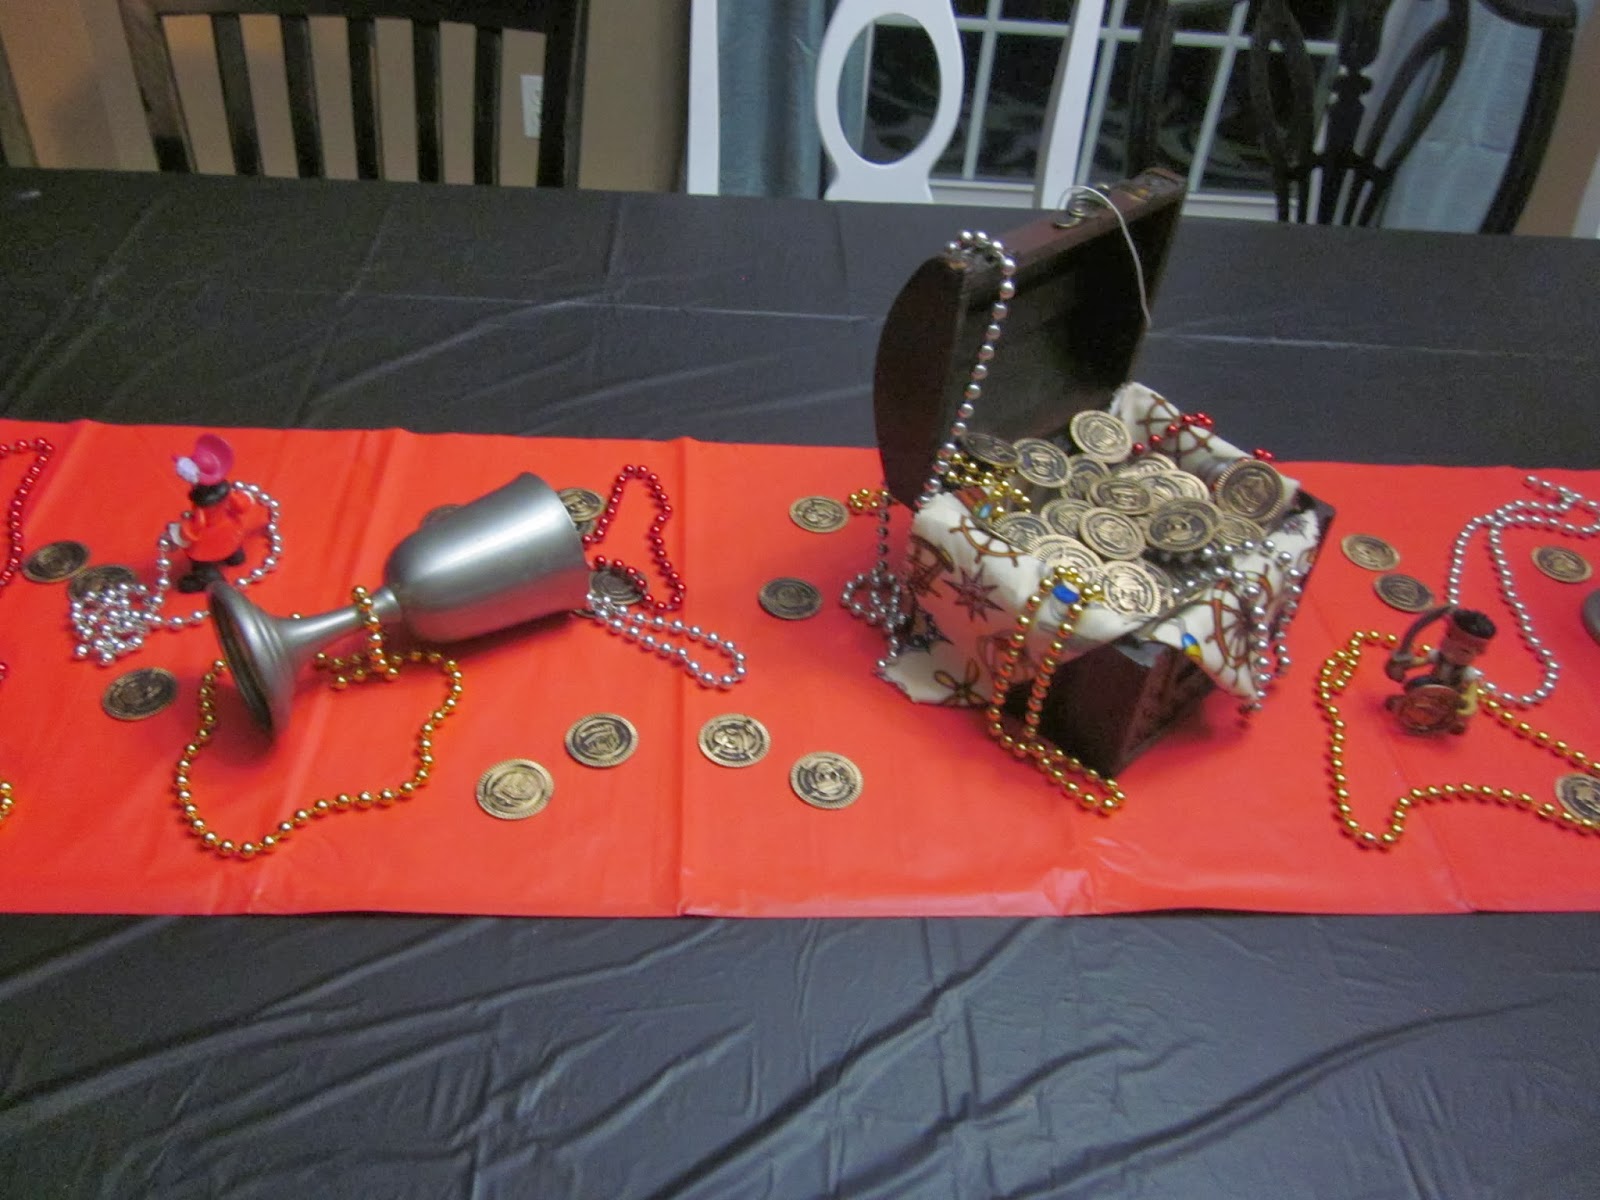
The Table Center Piece display was made with Christmas Garland that I cut into "necklaces" and randomly threw about the table. We have had these Silver Goblets in our Family for Generations and I'm glad they got some use! Then just toss in some Gold Doubloons, a Treasure Chest filled with treasure and a few Jake the Pirate figurines. Very easy! My hubby kept saying that it looked like something out of Goonies. :) (Booby Trap, That's what I said!)
I love this Subway Art! If you love it too, you can get it at
my Etsy Shop as well as a lot of other great Party Decor Items!
These were the Party Favors that I handed out. Everyone got their very own Pirate Sword! Luckily all eyes and fingers were in tact at the end of the party! :)
More party favors! The adults hid these at the end of the party so the kiddos could search for the buried treasure! They had a lot of fun!
FOOD!! What's on the table you ask? Well let's make the rounds...
Sea Water: This is just plain water with a few Blue Raspberry Powerade Drops in it. Delicious!!
First Mates: I saw these guys on Pinterest. I couldn't resist! IT was a big hit and better yet, the kids loved them! It's just Bananas, Red Napkins (or fabric) and a Sharpie Marker!
Pirate Jewels: Grapes in different colors! Yum!
Silly Pirate! G Picked this one out of all the designs that he saw for Pirate Cakes. He thought the teeth were very funny and kept talking about the silly Pirate cake. I skipped the Fondant this time and just used Store Bought Frosting in Cinnamon Roll. I covered the cake and then died the rest of the frosting black with the Wilson Food Gel and piped on the Eye Patch and Decor. The "Bandana" is made of Red Sugar and the Teeth are Mini Marshmallows. It is a basic 3 layer 8" round cake and I used some extra cake from when I leveled it for the "nose" portion. It tasted Delicious!!
  |
| Here's what it looked like with all the candles in it! |
I had some left over cake batter and we were expecting a lot of kids and parents, so I whipped up a few cupcakes as well. :) Here's my Buried Treasure Cupcakes!
This Cupcake is just chocolate Cake Mix, Blue Icing all over and then Graham Cracker Crumbs on half of the cupcake. Then push a Gold Doubloon into the "Beach" and you're done! Every Cupcake is a winner!! :)
Dead Man's Fingers: Hot Dogs. I cooked them in the Crock Pot to make it easy and to keep them warm! Just pile them in and cook them on Low for 4 hours, or High for 2 hours. NO WATER NEEDED! They cook in their own juices.
Cannon Balls: Black Olives
Pirate Ships: This looks GREAT! It's just Blue Raspberry Jello and Orange Slices. Then I made the flags with my new Silhouette Machine and hoisted them up on Toothpicks.
Fish & Chips: Goldfish Crackers and Sun Chips. You have to have a salty snack too, and what kid doesn't like Goldfish?
The Decorations are made out of Wrapping Paper Cardboard Tubes and Plastic Table Cloths! The Crow's Nest is just a generic green pot that came with a Christmas Poinsettia that I covered in Brown Packing Paper. The Flag is a Chopstick and some Black Cardstock that I cut out. And then I added the "G" from my Silhouette machine.
My little Pirate had a great time!
And here he is with Daddy dressed as a Swashbuckler Himself!
M couldn't resist having a little fun also!
Here's what the invite looked like. I used more Brown Packing Paper and sent it through my printer. Then I tore it and crumpled it and mounted it onto cardstock. Made it look like a map to the big event! :) G helped with the crumpling part of it.
Well, I hope you enjoyed the Pirate Party Tour. Feel free to use any of these ideas to throw your very own Pirate Birthday.