
Here is the before:


Messy toys and all...
And here's the After:

I was so excited about this wall that I took the pic as it was drying...hints the wet paint look. Pretty super don't you think?!


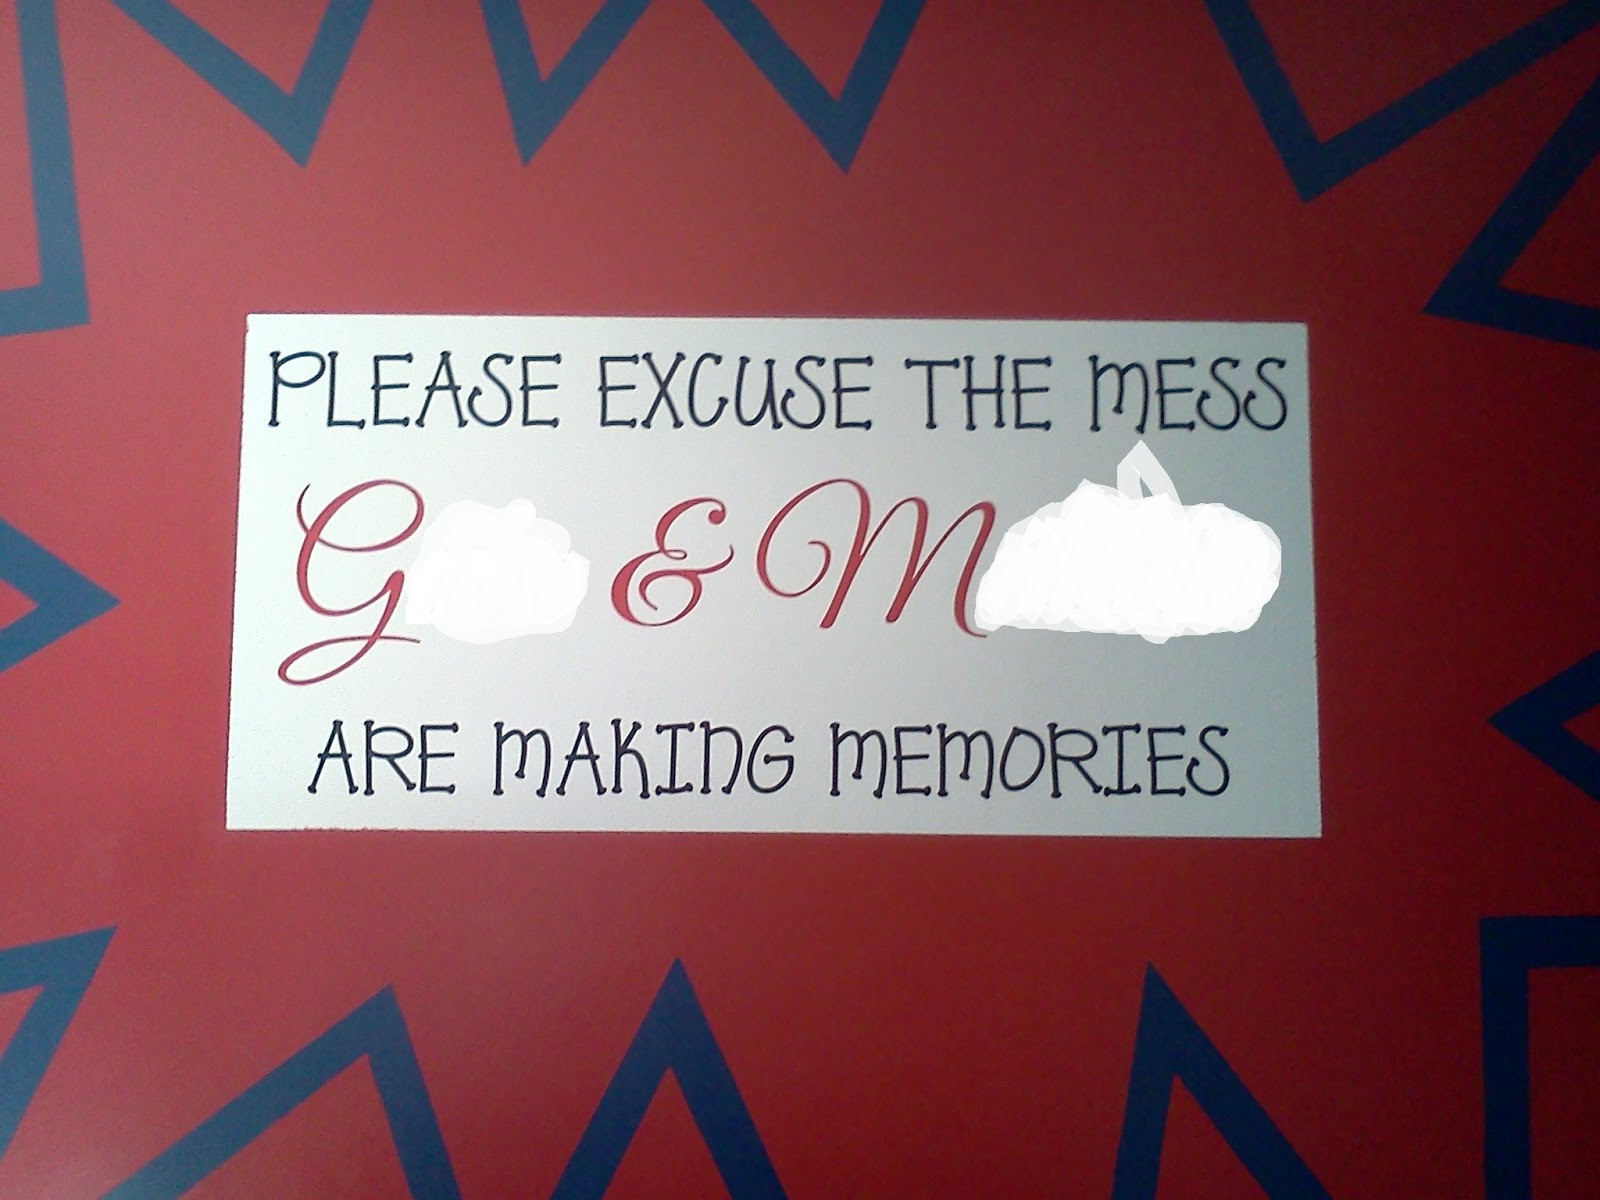
This is a vinyl that I got as a Christmas Present. I LOVE it and works VERY well for the playroom area.

I know, a little organization goes a long way. :)


This used to be G's dresser as a baby. I took the drawers out, added a dowel rod, moved the shelf and painted it. Now it stores all their dress up clothes. More hats and accessories are in the shelves behind the door.

The bulb cover broke as we were putting this in. This was a garage sale find and is awesome!
Here's some of the "behind the scene's" photos of the process:


It literally took me 3 days to finish this shield. It was totally worth it though. I had to draw it by hand first because there is no template for a wall sized Captain America shield. :) I couldn't use tape because they don't make curved tape either...the nerve. I kinda liked the brown with these colors, but it didn't match the theme.

Now this I could use tape for, but I had to cut the tape exactly to the angles and all. It took about 2 days to complete this.

Putting on the vinyl
I think the room looks fantastic! The boys LOVE it!! M keeps wanting to take everyone up there to see the BIG Captain America's Shield!! It must look enormous from his perspective. :) What do you think? I'd love to hear your comments!
This comment has been removed by a blog administrator.
ReplyDeleteHow did you draw such perfect circles? I want to do this in my son's room!!
ReplyDeleteI did it old school protractor style! Stuck a thumbtack on some string in the center and tied a pencil to the other end. Then drew away! I just made the string short at first to do the first circle, then longer for the others. It took a few tries to get the right proportions but I knew I would paint over it. And it was worth the time.
Delete