To celebrate this wonderful time of year, I have started to decorate our home! AND since our New Home has a beautiful fireplace!! I can decorate the mantle!! I searched Pinterest over and over (as any great decorator does) for ideas and finally came up with this!!

Isn't it adorable! I of course don't have a lot of money to spend on decorating, but wanted to be festive, so here's how I did it!! This entire mantle cost me only $20!!! I know what you're thinking...HOW?! Well, let me tell you
I picked up the old window at a garage sale for $8, bought a dollar store grapevine wreath for $1 and some leaves/berries at Wal Mart for $0.97 each (2 bunches). The cute sunflower I got on sale at Hobby Lobby for $1. (I know, fall hasn't even begun yet and they have stuff on sale) All this = $12, clearly the most expensive stuff on my mantle. :)

To make the wreath, I just pushed the leaves and berries into the grapevine wreath to make it a little more full and voila...an adorable mantle-sized wreath. No hot glue needed. I then embellished it with the bling sunflower! Gotta have some bling somewhere in this all boy house! :) To attach it to the window, I just took some twine I had and taped it to the other side of the window. You could also use ribbon if you prefer.

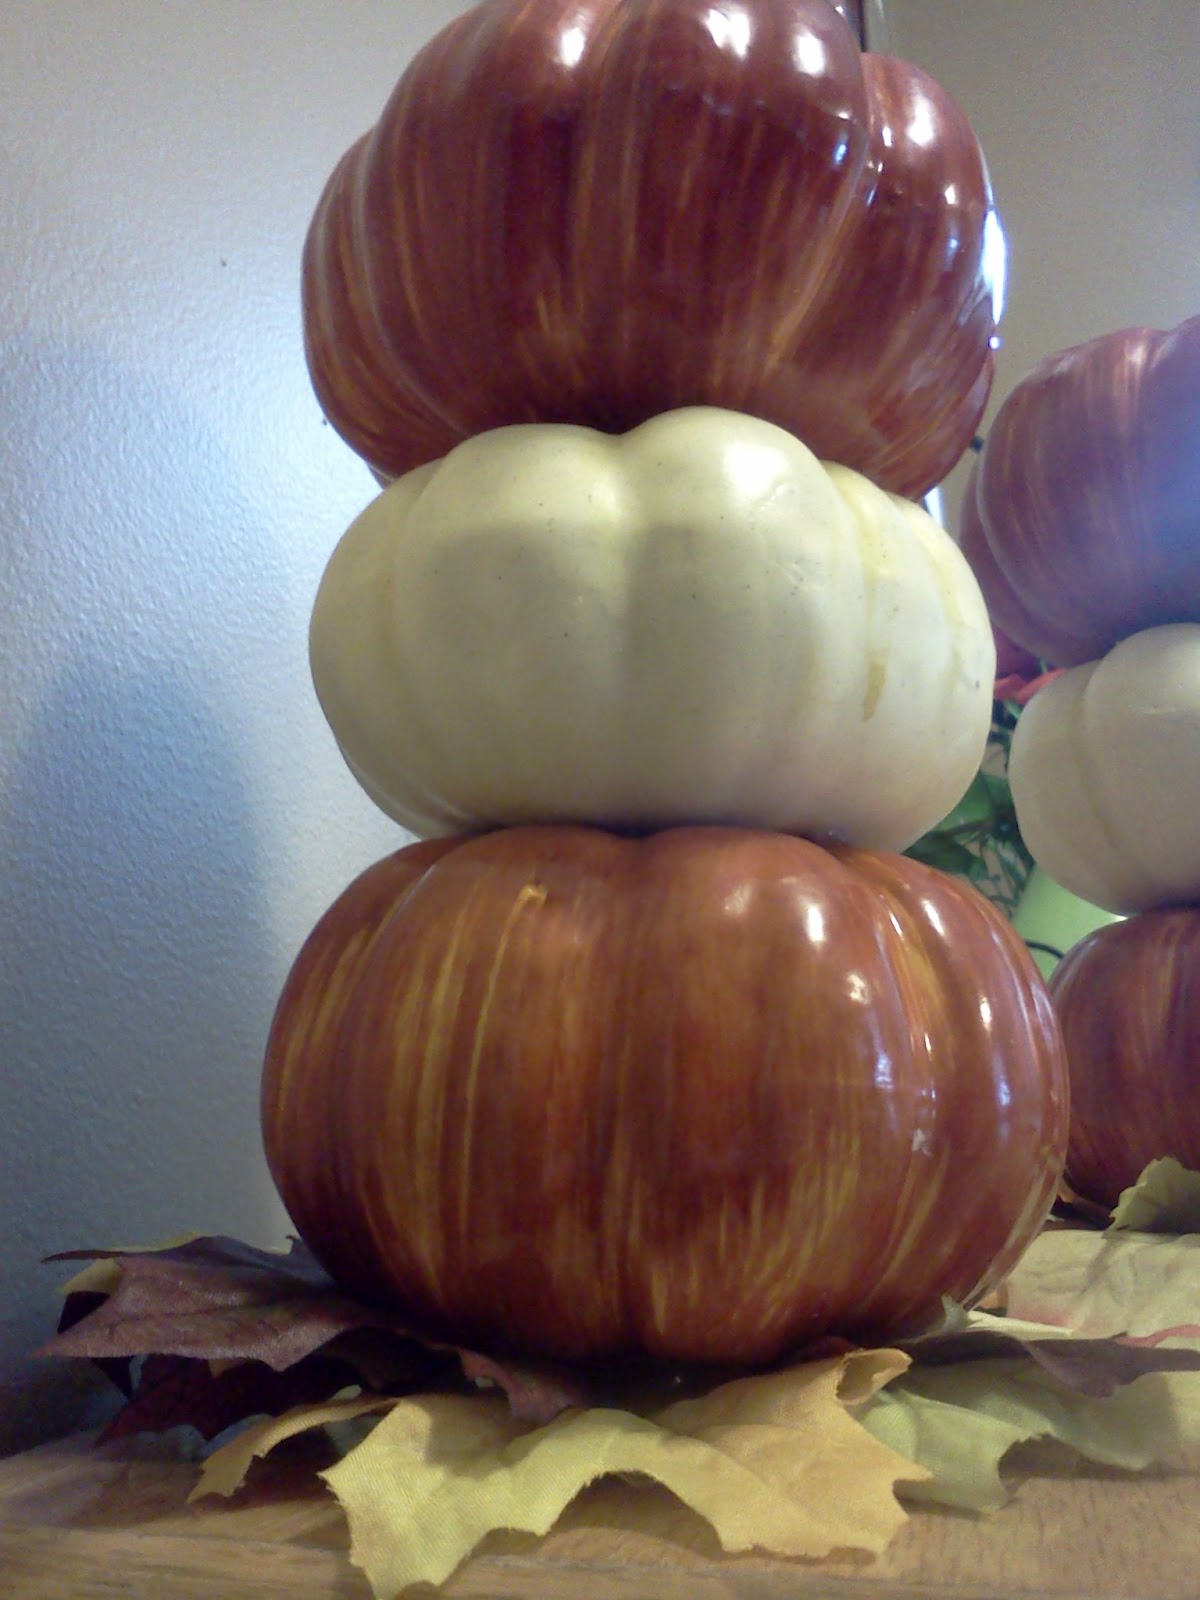
The candle sticks I had, but got the leaves that are laying on the mantle and pumpkins/gourds from my sister who is living with us. I bought this for her as a birthday gift one year. I also got these on after the season clearance for something REALLY cheap...sorry sis. :) Also, accompanying the mantle foliage are 2 more bunches of $0.97 flowers from Wal Mart.

On the other side of the mantle, I picked up these candle holders at Target just a week or so ago on clearance for $3 each! I originally got them to stuff Christmas ornaments in for the upcoming Christmas season, but couldn't wait to use them.

I stuffed the bottoms with left over leaves from the bunches and some acorns from our front yard. The acorns were supposed to go all the way around the candles, but they and the candles are too big, so I had to settle for what I could see from the front. :)
Now my favorite part! M and I went walking with G on our way to school yesterday and found so many sticks on our way. I needed some height to the mantle, so find an empty vase and there you go! This will also transition really well into my Halloween mantle that will debut next month!!

The Fall Banner, I made out of stuff I already had: scrapbook paper, ribbon, tape and contact paper. I just thought the mantle needed a little more warmth.

So, breakdown:
Window - 8
Wreath - 1
Leaves/Berries for Wreath - 2
Sunflower - 1
Candle holders - 6
Mantle Flowers - 2
Acorns - FREE
Sticks - FREE
Vase - FREE
Fall Banner - FREE
Total cost of Mantle Decor = $20
Cost of enjoying a season of festiveness = PRICELESS! :)


Want to know how to make the cute Fall Banner?! Click here!!