So I mentioned in another post that G has Williams Syndrome. There are several complications that come with this, but to get to the point, there is a life expectancy question that comes with this.
That being said, he qualifies for a Wish from Make A Wish! He has decided to meet Mickey Mouse! Recently he has been OBSESSED with Mickey. I don't know where he got it, but for whatever reason, he LOVES Mickey.
So...it's official! We're going to Disney World!
And when would be a great time to do this once in a lifetime trip?!
Why his birthday of course!!
We're very excited and make sure to come back in January when there will be lots of pictures and stories!!

I don't claim to be the Proverbs 31 woman, but here are some ways I try!
October 24, 2012
October 17, 2012
Candy Corn Inspiration
Happy October!
Halloween is getting closer, so I figured it would be a good time to put up my Halloween mantle! As I mentioned in another post, we do celebrate Halloween, but not the scary part of it. For our family, Halloween is a fun time to dress up in fun costumes and get candy. We participate in a soup night, all the trunk or treats that we can fit into our schedule and eat a lot of candy. My boys love Halloween because everyone plays dress up. Even P and I dress up! It's just fun!
So anyway, I want to be festive and decorate for the holiday, but wasn't really sure what I should do. Along came Pinterest and craft-a-poluza again! :) Most of these are not my original ideas. I've just pieced a few things together that I found from other blogs! I've posted the links to their tutorials if you want to find out how to make all these really cute things. If you have any questions, I'd be glad to answer them. Just leave a comment and tell me what you think!!
So here's my Halloween mantle!!


After I decided on a candy corn inspiration, I really wanted to concentrate only on the colors orange, white, yellow and black. I changed our family pictures out for only black and white ones. I chose decorations that only fit this theme, and bought some fun edible ones as well. :)
So let's break it down!
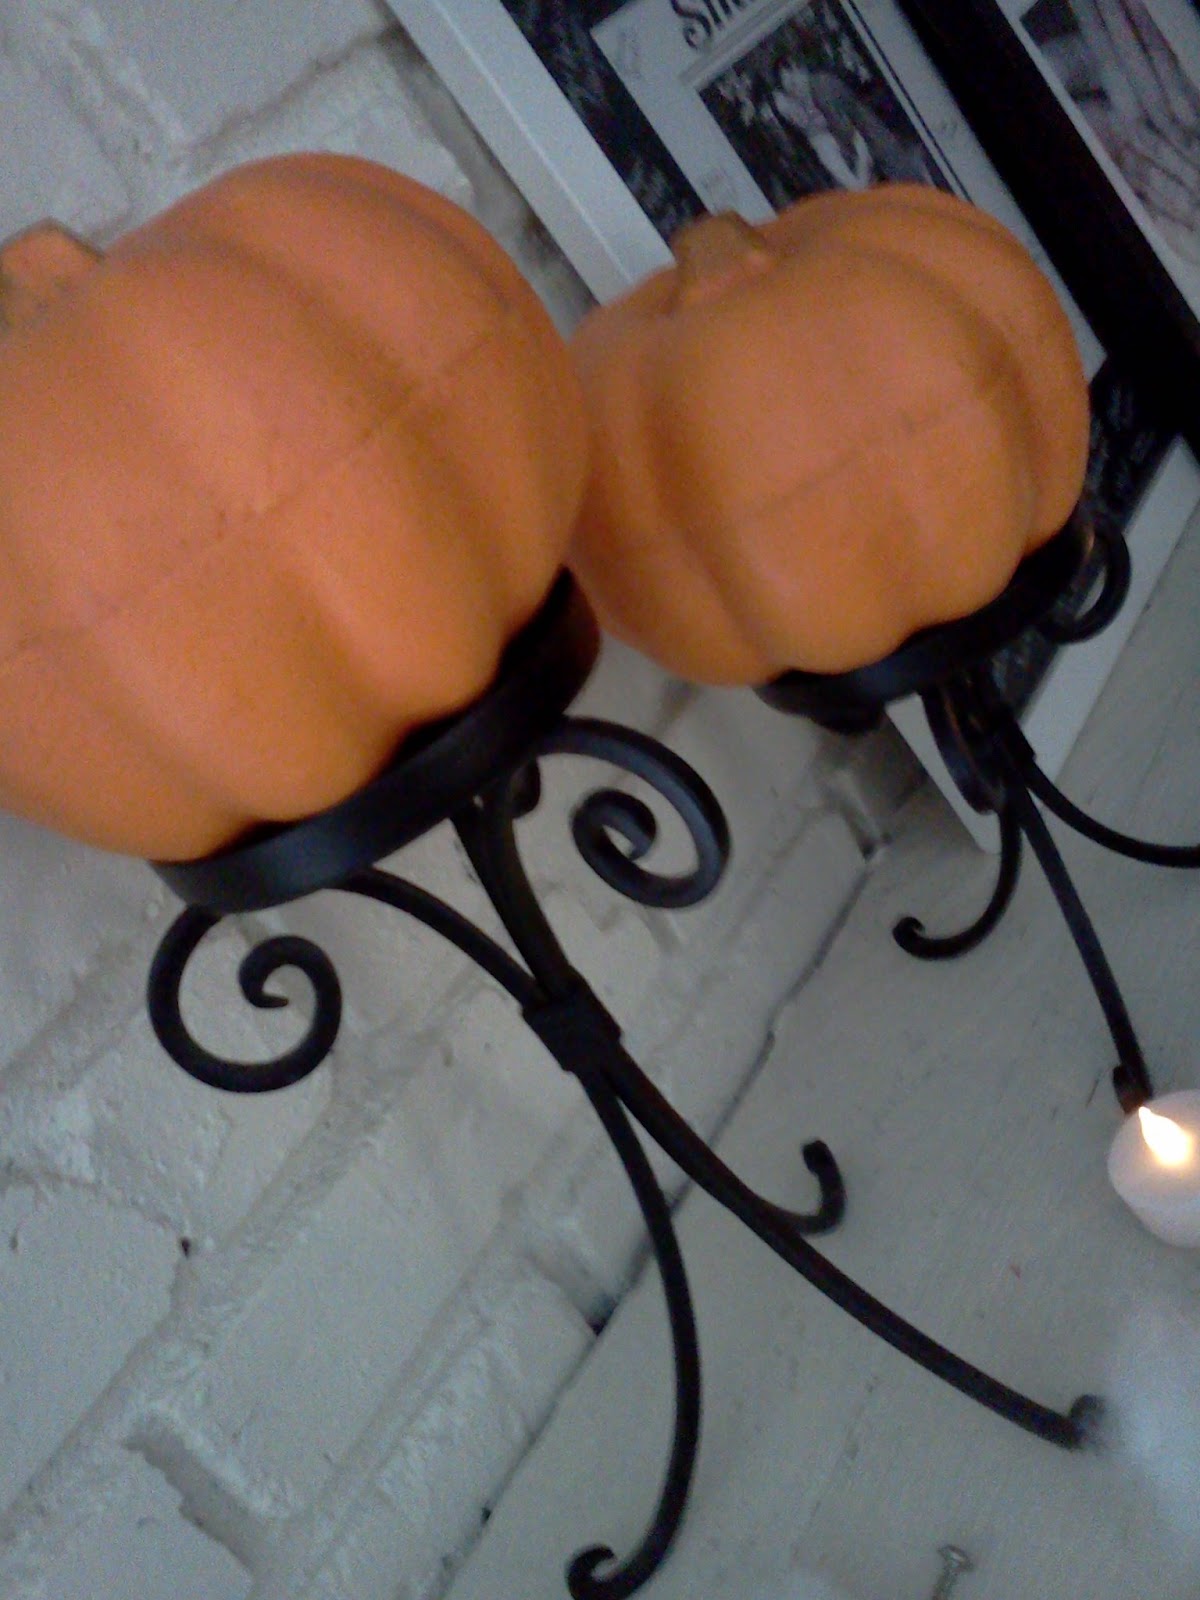
First, I started with some good 'ol Polyfill from the fabric store to line the mantle with to create a "smoky" or "cobweb" type look. Again, I have my candle sticks with my pumpkins. I found these pumpkins at the Dollar Tree. They are carveable, if I ever decided to to that with them. :)

Next, I came across this adorable subway art at eighteen25. She has a whole year's worth of subway art downloadables!! Usually our subway art goes on a table between our kitchen and family room, but it was too perfect not to make it to the mantle this time. :)

In the center of the mantle, I have what started this whole mantle theme...Candy corn bottles. I saw this done on Ashbee Design, but she took the step by step instructions from The Swell Life. It's really easy to do and a great idea to recycle all of our empty wine and iced tea bottles! I was really excited to see we had an old Snapple bottle! I figured that I'd play up the "S" since I LOVE monograms and it is ours. :)


Moving on...I also saw these apothecary jars on Pinterest from The Autocrat. She again, got her step by step instructions from Shanty 2 Chic. I did look at both of these blogs and decided to come up with a version of my own!

I actually used pickle jars (again something from our recycle bin), old dresser drawer knobs, and some candle sticks that I found at our local Salvation Army Thrift Store. I painted it with some left over spray paint from my dining room chairs! The whole project cost me only $3!!! Well, if you count the candy corn, closer to $6. :)


As I was browsing Pinterest for pictures of Halloween Mantles, I noticed that candelabras are very popular for this season, so I picked this one up at Salvation Army as well for $0.75. The letters I got at Hobby Lobby and painted to match the theme. They were originally going to go in the apothecary jars, but I liked them here instead. :)


Remember these branches from my fall mantle?! I told you they would be back! Just add some candy corn and some Polyfill and voila! Season to season change. They might be back for my Christmas mantle also. :)

And finally, I saw this cute "Got Candy?" bunting at Polka Dot Chair. Mine of course is a little different because I didn't have any themed scrapbook paper, but I did have word art and some black cardstock! She has a really good tutorial on her site. Check it out.

Add some flameless votive and tea light candles from the Dollar Tree and there you have it! My Candy Corn inspired mantle! Festive, yet not scary. Fun, but not too childish. Now I just have to keep the candy away from my mouth!!


I also got carried away when spray painting the bottles that I had a few left over. Those with a couple new fall scented candles look great as a centerpiece on my table! :)

Let me know what you think! I'd love to hear your comments on my candy corn mantle!! Please leave some below. :) Happy Halloween!!
Halloween is getting closer, so I figured it would be a good time to put up my Halloween mantle! As I mentioned in another post, we do celebrate Halloween, but not the scary part of it. For our family, Halloween is a fun time to dress up in fun costumes and get candy. We participate in a soup night, all the trunk or treats that we can fit into our schedule and eat a lot of candy. My boys love Halloween because everyone plays dress up. Even P and I dress up! It's just fun!
So anyway, I want to be festive and decorate for the holiday, but wasn't really sure what I should do. Along came Pinterest and craft-a-poluza again! :) Most of these are not my original ideas. I've just pieced a few things together that I found from other blogs! I've posted the links to their tutorials if you want to find out how to make all these really cute things. If you have any questions, I'd be glad to answer them. Just leave a comment and tell me what you think!!
So here's my Halloween mantle!!


After I decided on a candy corn inspiration, I really wanted to concentrate only on the colors orange, white, yellow and black. I changed our family pictures out for only black and white ones. I chose decorations that only fit this theme, and bought some fun edible ones as well. :)
So let's break it down!
First, I started with some good 'ol Polyfill from the fabric store to line the mantle with to create a "smoky" or "cobweb" type look. Again, I have my candle sticks with my pumpkins. I found these pumpkins at the Dollar Tree. They are carveable, if I ever decided to to that with them. :)
Next, I came across this adorable subway art at eighteen25. She has a whole year's worth of subway art downloadables!! Usually our subway art goes on a table between our kitchen and family room, but it was too perfect not to make it to the mantle this time. :)

In the center of the mantle, I have what started this whole mantle theme...Candy corn bottles. I saw this done on Ashbee Design, but she took the step by step instructions from The Swell Life. It's really easy to do and a great idea to recycle all of our empty wine and iced tea bottles! I was really excited to see we had an old Snapple bottle! I figured that I'd play up the "S" since I LOVE monograms and it is ours. :)


Moving on...I also saw these apothecary jars on Pinterest from The Autocrat. She again, got her step by step instructions from Shanty 2 Chic. I did look at both of these blogs and decided to come up with a version of my own!

I actually used pickle jars (again something from our recycle bin), old dresser drawer knobs, and some candle sticks that I found at our local Salvation Army Thrift Store. I painted it with some left over spray paint from my dining room chairs! The whole project cost me only $3!!! Well, if you count the candy corn, closer to $6. :)
Before:

After:


Super cute don't you think?! I can't wait to transform these into the different seasons too!
As I was browsing Pinterest for pictures of Halloween Mantles, I noticed that candelabras are very popular for this season, so I picked this one up at Salvation Army as well for $0.75. The letters I got at Hobby Lobby and painted to match the theme. They were originally going to go in the apothecary jars, but I liked them here instead. :)


Remember these branches from my fall mantle?! I told you they would be back! Just add some candy corn and some Polyfill and voila! Season to season change. They might be back for my Christmas mantle also. :)

And finally, I saw this cute "Got Candy?" bunting at Polka Dot Chair. Mine of course is a little different because I didn't have any themed scrapbook paper, but I did have word art and some black cardstock! She has a really good tutorial on her site. Check it out.

Add some flameless votive and tea light candles from the Dollar Tree and there you have it! My Candy Corn inspired mantle! Festive, yet not scary. Fun, but not too childish. Now I just have to keep the candy away from my mouth!!


I also got carried away when spray painting the bottles that I had a few left over. Those with a couple new fall scented candles look great as a centerpiece on my table! :)

Let me know what you think! I'd love to hear your comments on my candy corn mantle!! Please leave some below. :) Happy Halloween!!
October 3, 2012
Fun Halloween Decor
Happy October!! It's time to get out the fun Halloween Decor and make your house festive for the holiday. My front porch is already decorated with my Pumpkin Topiaries and a few fun pumpkins I got from our local craft store, but I needed something that said "October." Our family does celebrate Halloween, but not the "scary" Halloween. For us, it's about dressing up in a FUN costume and getting to eat lots of candy and having fun with friends. We do not promote the scary, mystical or demonic side of Halloween.
So you can see my delima when decorating my new house. I wanted something that went along with the holiday, but not anything scary or witch-like. I came up with a few things and I wanted to share them with you in case you wanted an alternative to the "commercial" Halloween Decor.
Here are a couple of items I thought up:

Boo Door Decor

Milk Jug Goblins
Let's start with the Boo Door Decor first!
The thing I REALLY like about this is that most of the supplies came from the dollar store! This was a VERY inexpensive decoration to make! I always start there when I want to decorate my home, because it's the cheapest!!
The thing I REALLY like about this is that most of the supplies came from the dollar store! This was a VERY inexpensive decoration to make! I always start there when I want to decorate my home, because it's the cheapest!!
Supplies:
2 Craft Floral Rings
Wooden Letter B (you can make this from cardboard if you want)
Crate Paper in Black, White and Orange
Modge Podge
Stapler/Staple Gun
Hot Glue Gun
3 Buttons
Ribbon
Scissors

How to:
First, Cut a long strip of Crate Paper. Then place a little bit of Modge Podge on the back of your letter. Place one end of the crate paper onto the modge podge.

Wrap the paper around the letter. Don't worry about making it pretty. The texture is what you are going for, and the beauty about Halloween decorations is that the messier they are, the more festive they look. It's all about the character. :)


When you come to the end of your paper strip, and then end of your wrapping, just make sure it finishes on the back side of your letter. Take some Modge Podge, dab a little on the back of the letter where your strip will land and gently press to seal. You can also apply a layer of glue on top of the paper as well. Continue to cut long strips and wrap the letter until it is all covered with paper. I decided to alternate the colors of my letters. Black, white, black.
Here's what they look like all "wrapped."

Notice the messy "B." :) "B"eautiful! Now take some orange crate paper and fold, crumple or twist to make any kind of "flower" you want. Staple it onto the letter where you want your "accent".

Again, don't worry about being pretty, you're going to pretty much cover it up anyway. Now, hot glue your button to the center of your "flower" to cover up the staple.


Try to mix the colors, white button on the black letter, black button on the white letter. If you have a spider, or a pumpkin or any other cute "trinkets" you could use those instead of buttons.
Now to attach your letters together to form your word! Take your ribbon and staple it to the back of the letters. Start with the top "B" first.

Then decide where you want your "O"s to go in relation to your "B" and staple the ribbon accordingly on the back of all letters. Now lay it out and look at what you've made!

To hang it on the door, I did need to make a bow to tie in the loop and onto my wreath hanger on my door. It wasn't hard, just a simple bow. What do you think? Please leave your comments below!


I think it looks great on my porch with my pumpkins!

NOTE: Only attempt this if you have a screen door that will protect the paper from the elements. Otherwise, you may end up with a very sloppy mess. Messy is festive, but sloppy is just tragic. I guess you could go ahead and put a layer of Modge Podge over your entire letter to seal it from the elements, but you may loose some of your texture of the paper. I don't know, I didn't try.
Next let's take a look at how to make the Milk Jug Goblins -
I do have to confess, this is not an original idea. I saw it first on Pinterest. To see the inspirational post from another blog, click here.
I do have to confess, this is not an original idea. I saw it first on Pinterest. To see the inspirational post from another blog, click here.
Supplies:
Empty clean dry milk jug (different shapes look best)
Black Magic Marker
Scissors
Flameless LED Candle
How To:
Take your marker and draw a cute or fun face on one side of your jug. I didn't even worry about taking the label off, because no one is going to see the back of your jug. Then cut a hole in the back of your jug so that you can access the candle. If you don't want to put a light source in your jug, don't worry about this step. Then turn on the candle and place it on your porch or table. If you don't have a flameless candle, then you can use Christmas lights or glow sticks to light your jug. Just make sure your hole is big enough in the back to put a strand of mini lights inside. You can use the icicle lights and a LOT of jug goblins to create a fun atmosphere if you like.
I cut off the tops of my jugs too, just for a more fluid look. I plan to add several more to my porch as we use up the milk during the month. I think they are cute and add to my decor as well. :)

October 2, 2012
Puzzle Organization
So my children are all of a sudden REALLY into puzzles. I'm glad because it's a great activity that doesn't involve media and promotes patience, problem solving and color coordination. The only problem is that they are not really good at keeping the pieces together with the right puzzles, the boxes are getting torn and we are running out of storage space.
Behold...an idea!!
What if I put the pieces in a baggie?!!?! I'm sure this shear moment of brilliance has not eluded you, but just in case it has...it's simple!


Voila! Now we can store these puzzles in a smaller space, and they can clean them up easily!! :)
Behold...an idea!!
What if I put the pieces in a baggie?!!?! I'm sure this shear moment of brilliance has not eluded you, but just in case it has...it's simple!
Supplies:
Clear Tape
Ziploc type bag
Scissors
Puzzle

How To:
Cut out a picture of the completed puzzle from the box

Put all the pieces of the puzzle in the bag

Tape the picture to the bag

Voila! Now we can store these puzzles in a smaller space, and they can clean them up easily!! :)
Subscribe to:
Posts (Atom)