Showing posts with label Sticks. Show all posts

October 17, 2012

Candy Corn Inspiration

Happy October!

Halloween is getting closer, so I figured it would be a good time to put up my Halloween mantle!  As I mentioned in another post, we do celebrate Halloween, but not the scary part of it.  For our family, Halloween is a fun time to dress up in fun costumes and get candy.  We participate in a soup night, all the trunk or treats that we can fit into our schedule and eat a lot of candy.  My boys love Halloween because everyone plays dress up.  Even P and I dress up! It's just fun!

So anyway, I want to be festive and decorate for the holiday, but wasn't really sure what I should do.  Along came Pinterest and craft-a-poluza again! :)  Most of these are not my original ideas.  I've just pieced a few things together that I found from other blogs!  I've posted the links to their tutorials if you want to find out how to make all these really cute things.  If you have any questions, I'd be glad to answer them.  Just leave a comment and tell me what you think!!

So here's my Halloween mantle!!


After I decided on a candy corn inspiration, I really wanted to concentrate only on the colors orange, white, yellow and black.  I changed our family pictures out for only black and white ones.  I chose decorations that only fit this theme, and bought some fun edible ones as well. :)

So let's break it down!

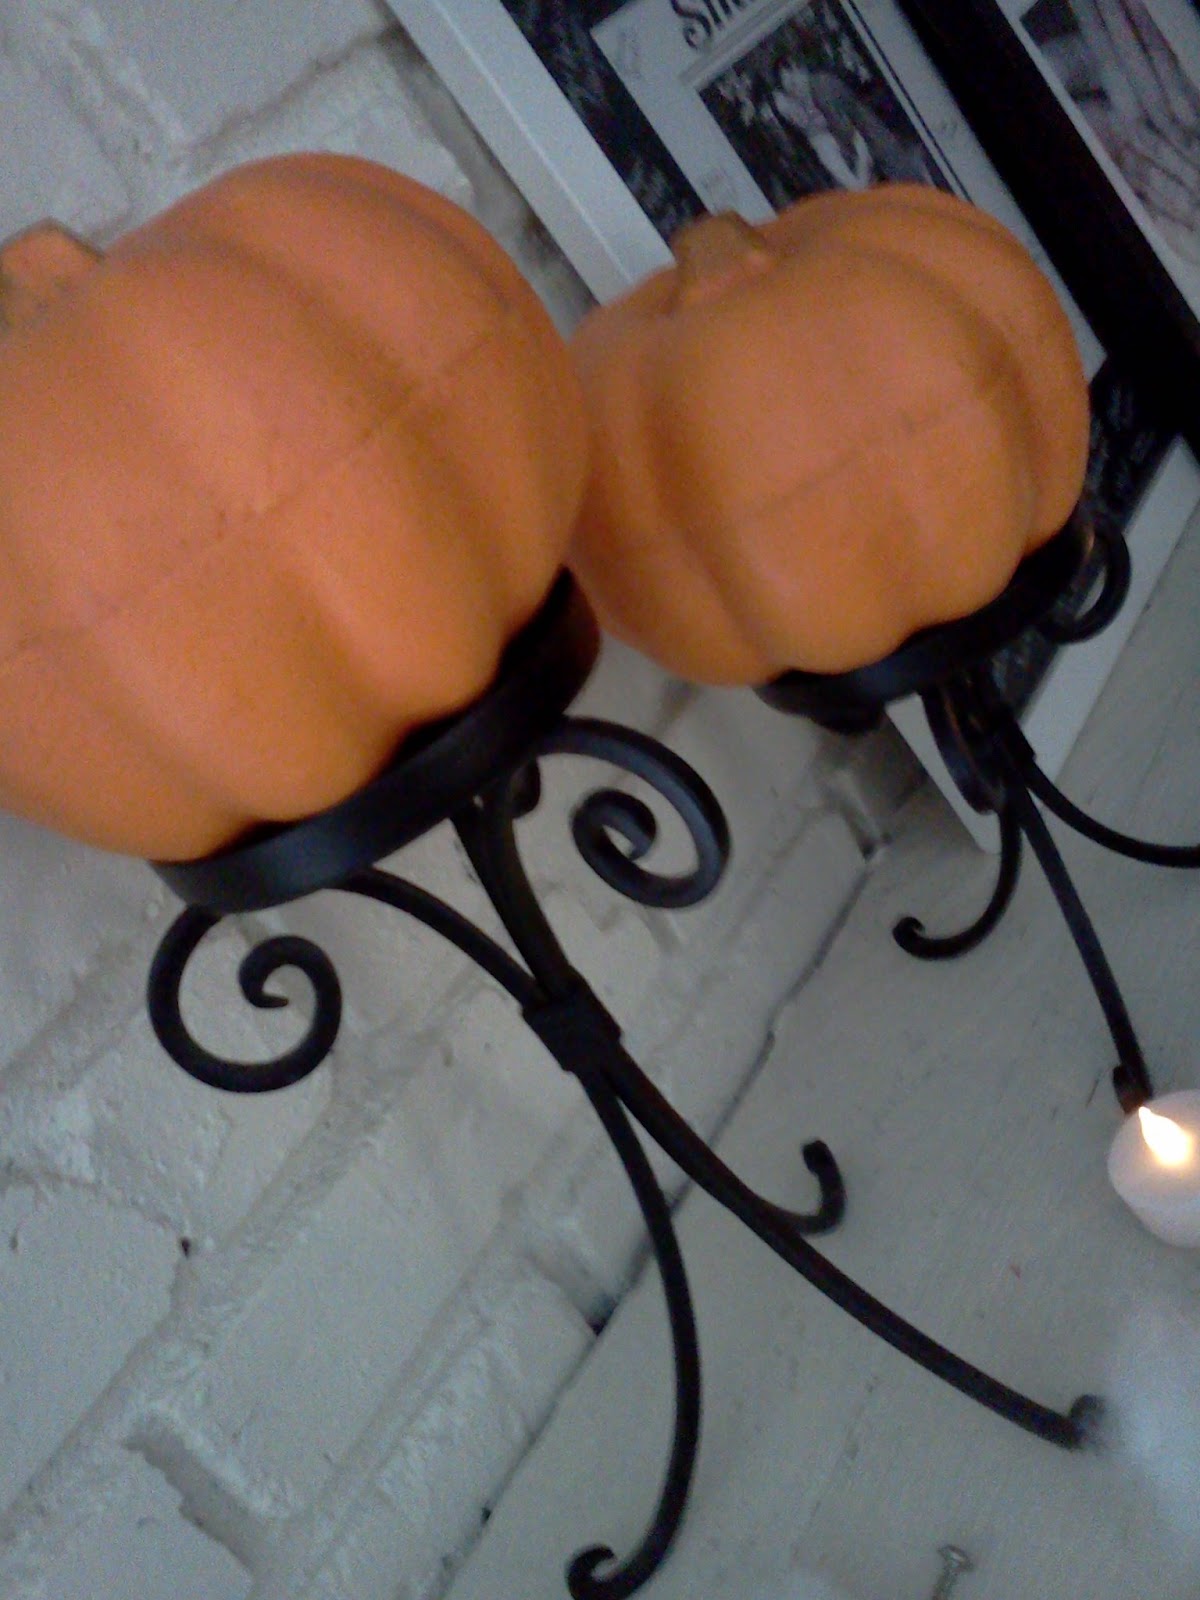
First, I started with some good 'ol Polyfill from the fabric store to line the mantle with to create a "smoky" or "cobweb" type look. Again, I have my candle sticks with my pumpkins.  I found these pumpkins at the Dollar Tree.  They are carveable, if I ever decided to to that with them. :)

Next, I came across this adorable subway art at eighteen25.  She has a whole year's worth of subway art downloadables!!  Usually our subway art goes on a table between our kitchen and family room, but it was too perfect not to make it to the mantle this time. :)


In the center of the mantle, I have what started this whole mantle theme...Candy corn bottles.  I saw this done on Ashbee Design, but she took the step by step instructions from The Swell Life.  It's really easy to do and a great idea to recycle all of our empty wine and iced tea bottles!  I was really excited to see we had an old Snapple bottle! I figured that I'd play up the "S" since I LOVE monograms and it is ours. :)


Moving on...I also saw these apothecary jars on Pinterest from The Autocrat.  She again, got her step by step instructions from Shanty 2 Chic. I did look at both of these blogs and decided to come up with a version of my own!


I actually used pickle jars (again something from our recycle bin), old dresser drawer knobs, and some candle sticks that I found at our local Salvation Army Thrift Store.  I painted it with some left over spray paint from my dining room chairs!  The whole project cost me only $3!!!  Well, if you count the candy corn, closer to $6. :)

Before:


After:


Super cute don't you think?! I can't wait to transform these into the different seasons too!

As I was browsing Pinterest for pictures of Halloween Mantles, I noticed that candelabras are very popular for this season, so I picked this one up at Salvation Army as well for $0.75.  The letters I got at Hobby Lobby and painted to match the theme.  They were originally going to go in the apothecary jars, but I liked them here instead. :)


Remember these branches from my fall mantle?! I told you they would be back!  Just add some candy corn and some Polyfill and voila! Season to season change.  They might be back for my Christmas mantle also. :)


And finally, I saw this cute "Got Candy?" bunting at Polka Dot Chair.  Mine of course is a little different because I didn't have any themed scrapbook paper, but I did have word art and some black cardstock!  She has a really good tutorial on her site.  Check it out. 


Add some flameless votive and tea light candles from the Dollar Tree and there you have it!  My Candy Corn inspired mantle!  Festive, yet not scary.  Fun, but not too childish.  Now I just have to keep the candy away from my mouth!!


I also got carried away when spray painting the bottles that I had a few left over.  Those with a couple new fall scented candles look great as a centerpiece on my table! :)


Let me know what you think! I'd love to hear your comments on my candy corn mantle!! Please leave some below. :)  Happy Halloween!!

September 12, 2012

Fall Mantle

I just LOVE Fall!! It's my favorite season of the year!  Partly because my birthday falls in this season, but also because the weather cools off, the leaves change and I can wear clothes that will cover up my body more and hide all the weight I gain from the Summer cook outs. I mean, let's be clear! :)

To celebrate this wonderful time of year, I have started to decorate our home! AND since our New Home has a beautiful fireplace!! I can decorate the mantle!! I searched Pinterest over and over (as any great decorator does) for ideas and finally came up with this!!

 
Isn't it adorable! I of course don't have a lot of money to spend on decorating, but wanted to be festive, so here's how I did it!! This entire mantle cost me only $20!!! I know what you're thinking...HOW?! Well, let me tell you
 
I picked up the old window at a garage sale for $8, bought a dollar store grapevine wreath for $1 and some leaves/berries at Wal Mart for $0.97 each (2 bunches).  The cute sunflower I got on sale at Hobby Lobby for $1.  (I know, fall hasn't even begun yet and they have stuff on sale) All this = $12, clearly the most expensive stuff on my mantle. :)
 
 
To make the wreath, I just pushed the leaves and berries into the grapevine wreath to make it a little more full and voila...an adorable mantle-sized wreath. No hot glue needed. I then embellished it with the bling sunflower! Gotta have some bling somewhere in this all boy house! :) To attach it to the window, I just took some twine I had and taped it to the other side of the window.  You could also use ribbon if you prefer.
 
 
The candle sticks I had, but got the leaves that are laying on the mantle and pumpkins/gourds from my sister who is living with us.  I bought this for her as a birthday gift one year.  I also got these on after the season clearance for something REALLY cheap...sorry sis. :) Also, accompanying the mantle foliage are 2 more bunches of $0.97 flowers from Wal Mart.
 
 
On the other side of the mantle, I picked up these candle holders at Target just a week or so ago on clearance for $3 each! I originally got them to stuff Christmas ornaments in for the upcoming Christmas season, but couldn't wait to use them.
 
 
I stuffed the bottoms with left over leaves from the bunches and some acorns from our front yard.  The acorns were supposed to go all the way around the candles, but they and the candles are too big, so I had to settle for what I could see from the front. :)
 
Now my favorite part! M and I went walking with G on our way to school yesterday and found so many sticks on our way.  I needed some height to the mantle, so find an empty vase and there you go! This will also transition really well into my Halloween mantle that will debut next month!!
 
 
The Fall Banner, I made out of stuff I already had: scrapbook paper, ribbon, tape and contact paper. I just thought the mantle needed a little more warmth.
 
 
So, breakdown:
Window - 8
Wreath - 1
Leaves/Berries for Wreath - 2
Sunflower - 1
Candle holders - 6
Mantle Flowers - 2
Acorns - FREE
Sticks - FREE
Vase - FREE
Fall Banner - FREE
 
Total cost of Mantle Decor = $20
 
Cost of enjoying a season of festiveness = PRICELESS! :)


Want to know how to make the cute Fall Banner?! Click here!!


August 30, 2012

My Fall Door "Wreath"

So I needed to spruce up our front door decor and had to take our 4th of July Wreath down, so I decided to whip this little one up.  I hope you like it! It literally only cost like $5 to make it, including the frame I got at a garage sale!  And of course, since nothing is permanent, you can change it whenever you like!!

Supplies:
Chip board Letter
Twine
Masking or Painters Tape
Frame
Twigs from your yard
Pine cone from your yard
Random silk flower
Floral Wire
Ribbon

How to:
Take the twigs, pine cone, and flower and attach them to the frame with floral wire.  No gluing needed!!  Then wrap the chip board letter in the twine.  Use tape to attach the last bit of twine to the back of the letter and then attach to the frame with the ribbon.  That's it! You're done and have a cute decoration for your front door! :)